
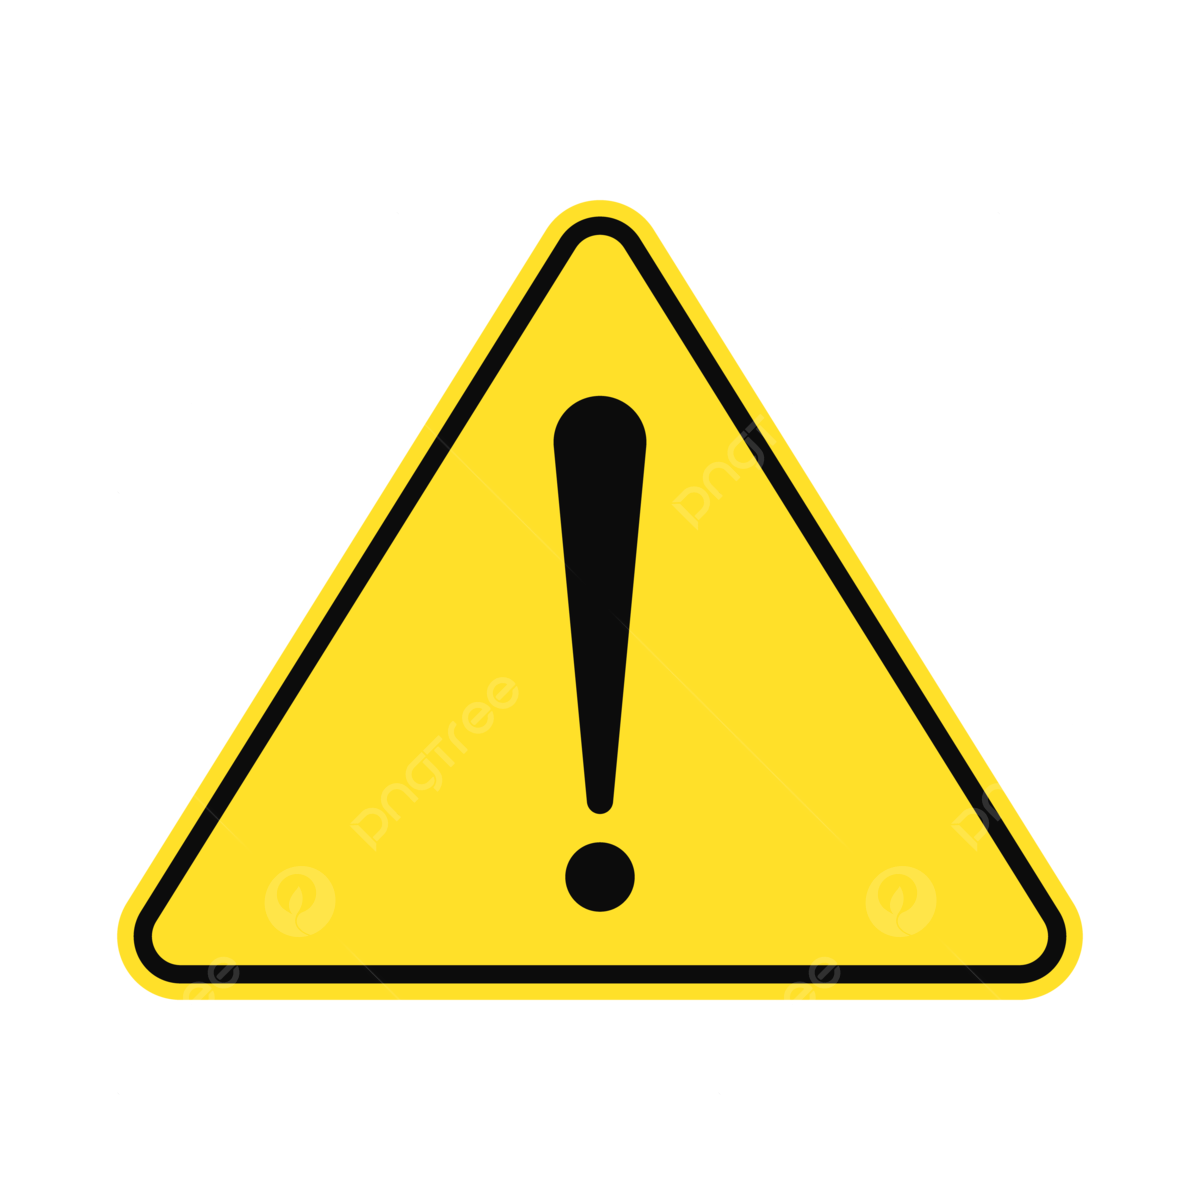
Be sure to have your power turned off. Turn off the switch at the breaker box before beginning any electrical work. This guarantees your safety, even though your only working with the cover plate.
How to Install Your New Switch Plate
Wood Wall Plates LLC. • May 14, 2025
Just received your new switch plates from Wood Wall Plates LLC? Great choice! Let’s keep it simple. Follow our easy guide to safely install those beautiful wood wall plates and elevate your room’s style. It’s time to transform your space with a perfect finish!
Safety Tip
What You Will Need:
- Wooden Switch Plate Cover
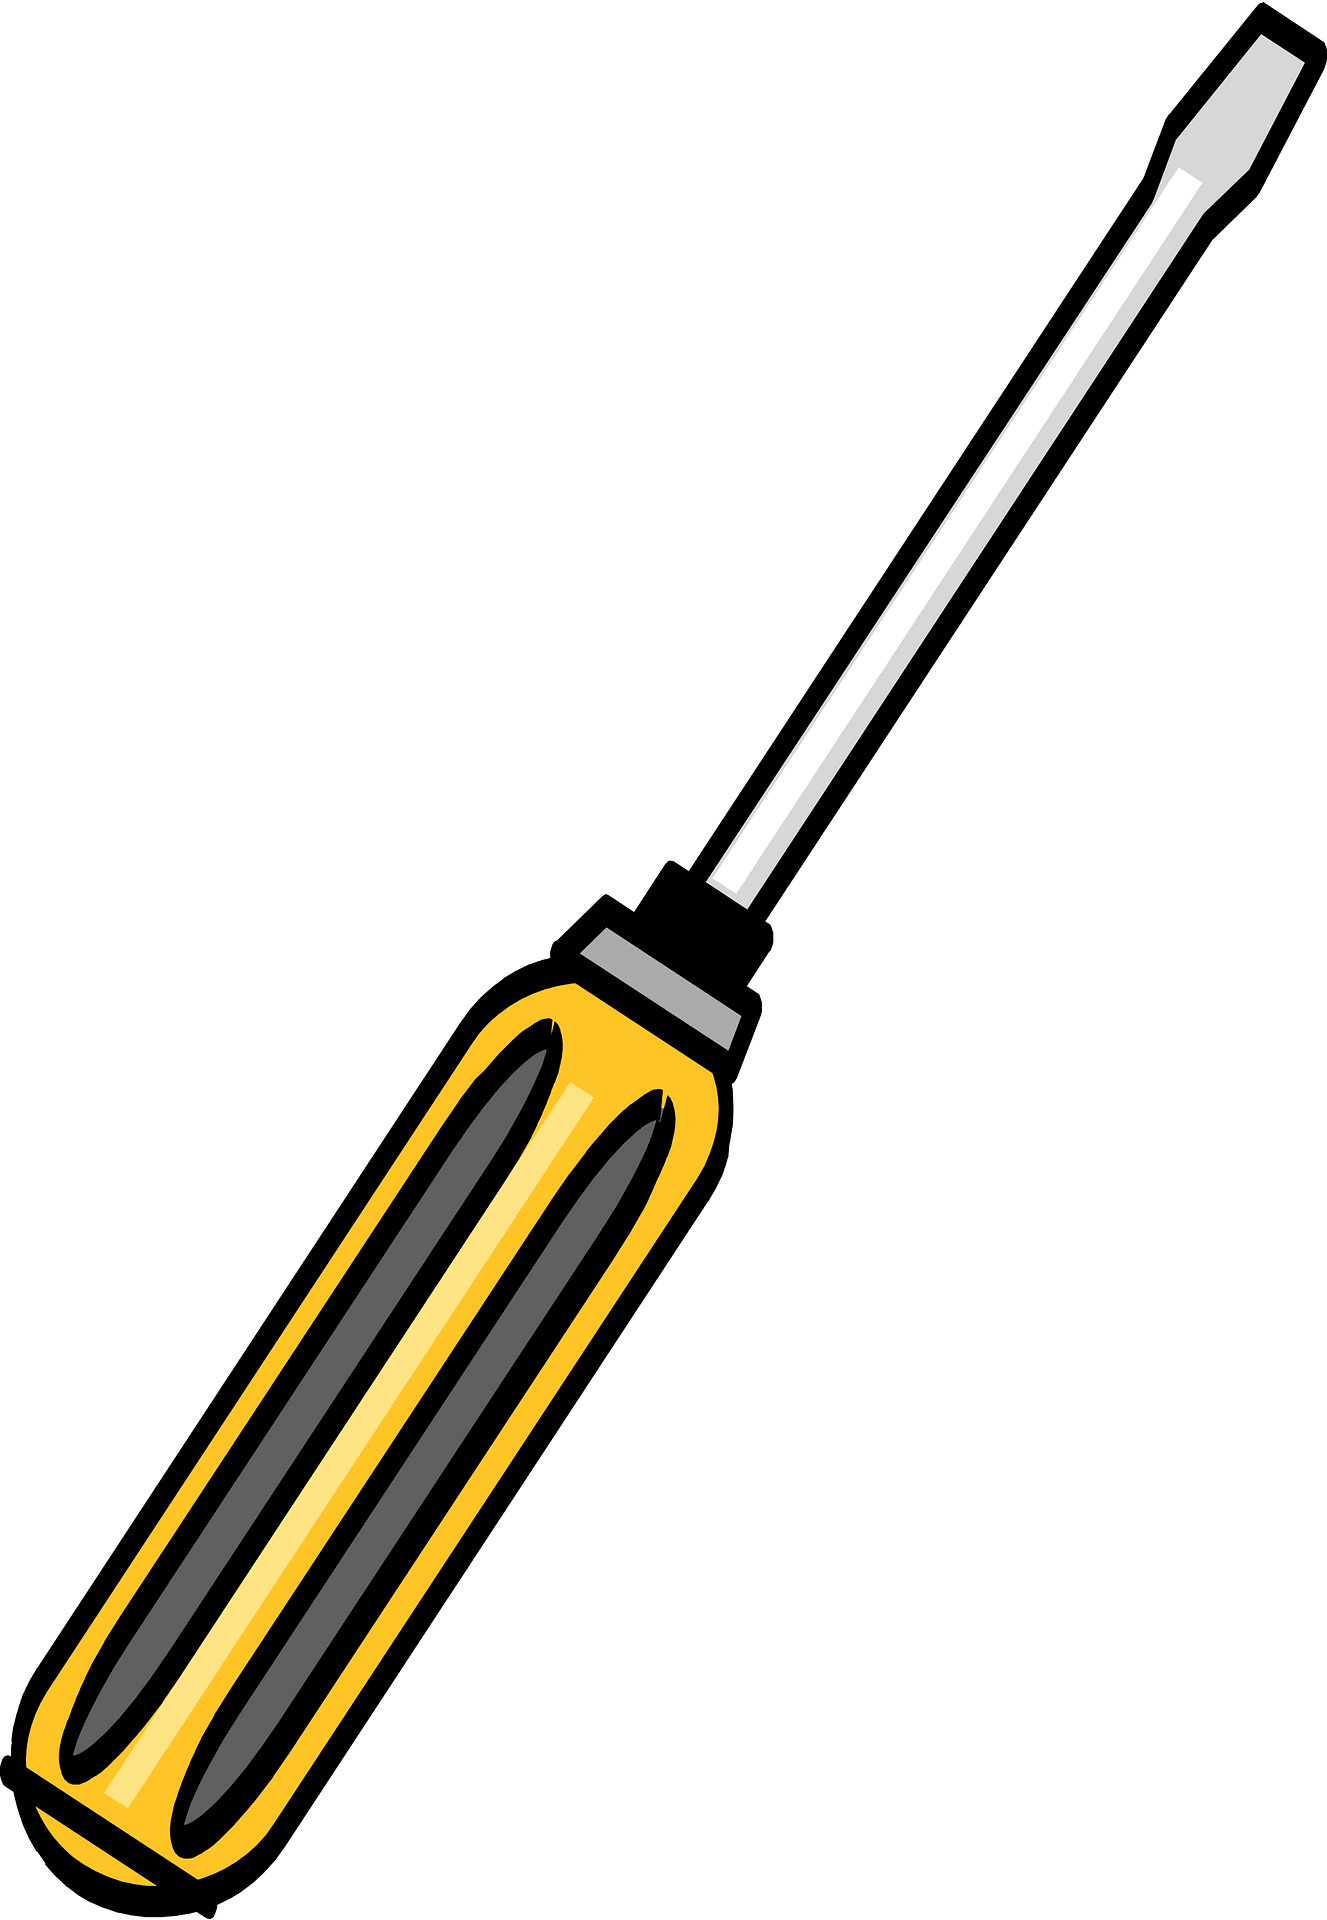
- Screwdriver (flathead or Phillips, depends on the screws being used)
- Level (optional but recommended)
- Small scres (usually included with the plate)
- Soft cloth
- Optional: drill (if wall anchors are needed)
Step-by-Step Insallation:

- Remove the Old Plate: Using the screwdriver to unscrew the existing wall plate. Carefully pull it away from the wall. Wipe around the switch or outlet with a cloth to remove dust and debris.
- Align the Wooden Plate: Hold your wooden plate over the switch or outlet. Make sure the cutout aligns perfectly with the switch(es) or outlet(s). Use a small level to chec that it's straight-wood plates with live-edges are more rigid, and crooked placement will be noticeable.
- Attach the Plate: Insert the provided screws into the pre-drilled holes. Gently screw them in using your screwdriver. Do not overtighten-wood can crack or warp, especially if you put too much muscle behind it... just tighten with moderate pressure (just enough to hold the plate securely against the wall.
- Double-Check: double-check the alignment. Turn the power back on and test the switch or outlet to ensure everything functions correctly.
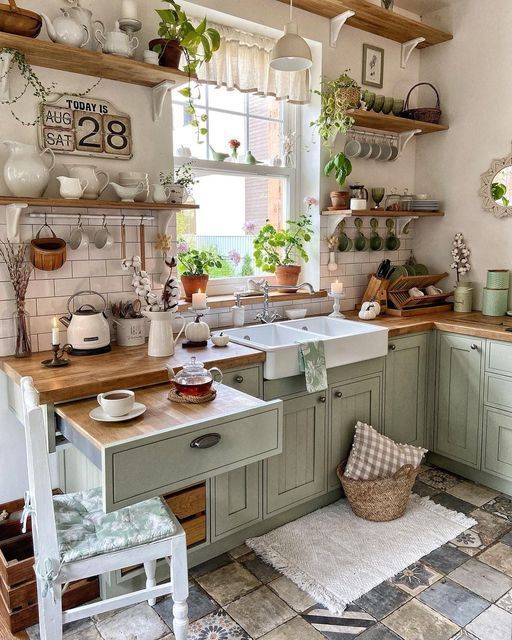
Why Wood Wall Plates Are Perfect for Farmhouse Homes Farmhouse style celebrates: Natural materials Subtle textures A lived-in, welcoming feel